
- 43A28826-03C7-4AEB-9E51-027BF746A09B.jpeg (89.94 KiB) Viewed 553 times
How should Krag metal look?
Re: How should Krag metal look?
How accurate is this finish at the Springfield Armory museum?
-
butlersrangers
- Posts: 9856
- Joined: Wed Oct 07, 2009 11:35 pm
- Location: Below the Bridge, Michigan
Re: How should Krag metal look?
"Parkhurst" model 1899 carbines were late 'trial' arms, so a good condition specimen should show its original armory finish.
IMO - Sean's 'loose' model 1898 action already has rather nice original colors. A NOS Bolt ($60) and removal of the white 'marking enhancement' would improve the color contrast of the various metal parts.
A 'bead-blast matt blued' Criterion barrel and rear sight-base & screws would really make the metal colors POP!
Criterion Krag barrels are billed as being "short chambered".
From observation, the Criterion barrels appear to have a 'raised flange' surrounding the chamber at the barrel breech.
The reporting of others, indicates the Criterion barrel threads are 'timed' to index properly with many Krag receivers.
The raised flange is usually reduced with a 'finish reamer', to establish proper head-space between the bolt-face and barrel breech, for the .30-40 cartridge rim.
- Attachments
-
- POHO-1.jpeg (332.92 KiB) Viewed 549 times
-
- POHO-2.jpeg (351.27 KiB) Viewed 549 times
Re: How should Krag metal look?
Good idea on the bolts — I need to look them over for dents and dings first as they could just be cleaned up. When the receiver arrives, I’ll inspect and put through the ultrasonic tank. Shouldn’t be too hard to remove the crayon? fill.
-
butlersrangers
- Posts: 9856
- Joined: Wed Oct 07, 2009 11:35 pm
- Location: Below the Bridge, Michigan
Re: How should Krag metal look?
Granpa's Gun Parts has New Old Stock model 1898 bolts by the thousands.
If I was installing and head-spacing a new Criterion barrel, I would fit it with a 'new' bolt.
If I was installing and head-spacing a new Criterion barrel, I would fit it with a 'new' bolt.
- Attachments
-
- Bolts_NOS_0.jpg (50.09 KiB) Viewed 536 times
-
- Bolts_NOS_1.jpg (75.72 KiB) Viewed 536 times
-
- bolts_old-new_98_n_96.jpg (122.41 KiB) Viewed 536 times
Re: How should Krag metal look?
Good point BR.
Re: How should Krag metal look?
Okay, i have been reading government reports about how the re-arsenal process for small arms worked in 1898. There was some great information about how rifles were cleaned, rebrowned, and repaired.
Anyway, I am thinking it may not be possible to repeat the case hardening process in search of a new finish. So instead, it may be best to do what was done back in 1898. In this process, the barrel, buttplate, and receiver — minus the bolt (it stays polished) would be rust blued. The front sight, barrel bands, band spring, and screws will be niter blued.
What do you all think of this approach?
I found a on Milsurps Forums of someone who has gone before me — A 1898 RUST BLUING PROJECT:
If you interested in reading on how .45 Springfields went through the process in 1898, check out 1898 Report of the Chief of Ordnance, Page 78-79.
REBROWNING GUN BARRELS.
The general methods heretofore used for the browning of small arms are thoroughly explained in Ordnance Notes No. 50 and in Ordnance Memoranda No. 22,p. SO. et seq.
After many experiments, both with mixtures and methods, the following has been adopted as a browning solution, viz:
Spirits of niter……………………..Pounds…. 2
Absolute alcohol………………………do…….2
Sublimate of mercury……………Ounces….. 3
The sublimate of mercury in a finely divided state is poured into the alcohol; after six hours it is thoroughly dissolved; the spirits of miter is then added and the solution is ready for use.
A summary description of the rebrowning process can be given as follows:
The guns are dismounted and stripped of rear sight and breechblock: they are then placed in a vise specially arranged and the receivers loosened, but not removed from the barrel.
The barrels are placed in perforated iron trays with wire handles, for convenience in dipping and removing in subsequent operations. They are immersed in a tank filled with a boiling solution of caustic soda and water (2 ounces of caustic soda to a gallon of water), where they remain for twenty minutes. This removes all greasy matter.
They are then plunged into another tank containing pure boiling water, where they remain for five minutes to neutralize the effects of the soda. Care should be taken not to get finger or grease marks after cleaning, as such marks leave spots on the barrels after browning.
Hard-wood plugs are now driven into both ends of the barrels to prevent the browning solution from injuring the bore, and the first coat of the mixture is applied. This can be done very evenly by means of a small sponge attached to a slender stick. After standing eight hours to rust, the barrels are given a second coat, and after six hours more the third coat is applied. The barrels now stand for six hours batore being placed in the steam chest.
The chests employed are of cast iron, made in two parts with flanges, so that the parts can be tightly bolted together, with a lead packing between joints. The tops and bottoms are bolted to the flanges of the top and bottom parts, respectively. The top part is also hinged to facilitate opening and closing of the chest.
The inside measurements of the chests are 21 by 21 by 41 inches in height, and they can hold 200 gun barrels each. The barrels are allowed to remain in these chests for six hours to oxidize at a steam pressure of 80 pounds, dry steam being used. When removed from the chests they are run over a circular wire scratch brush of a diameter of 8 inches.The brush is of No. 36 wire, Brown & Sharpe gauge, and is run on a buffing lathe making 800 revolutions per minute.
This operation removes all scale and gives a polish to the barrels; as the latter are liable now to rust, they are well oiled and are ready for assembling.
Where the gun barrels are rusty or marred, they are cleaned by polishing before being subjected to the rebrowning process.
BLUING PROCESS FOR BAYONETS AND SMALL PARTS.
After the guns are dismounted the small parts, ramrods, and bayonets are carefully examined and all that show marks of rust or wear are sent to the polishing room to be cleaned. Before any part is submitted to the bluing process it is boiled in the caustic potash solution to remove grease and dirt.
For bluing a cast-iron tank, open to the air and heated from below, is employed. The bluing mixture (100 pounds of niter and 8 or 10 pounds of black oxide of manganese) is raised to a temperature sufficiently high to cause quick ignition of a pinch ot sawdust thrown upon the surface. This temperature is approximately 400° F.
The parts to be subjected to oxidaton, after being thorougbly cleaned, are sug-pended in the center of the mixture, in wire baskets suspended from stationary hooks above the pot; they are immersed when cold and are moved about to keep the mixture stirred up.
The length of time of immersion varies from five minutes up, depending upon the size of the parts and the shade of color desired. This shade can be best determined by removing the parts from the mixture from time to time to observe the effects of the treatment.
After a satisfactory color has been obtained, the parts are plunged into cold water to prevent spotting: next into a vessel of hot water to remove the adhering niter, then into a vessel ot sperm oil to darken and fix the color, and finally into benzine to remove all traces of oil. The parts are afterwards wiped dry and the process is complete.
Before immersing the parts, the manganese should be well stirred from the bottom with a ladle.
Care should be taken not to splash the mixture, and mica spectacles should Le worn to avoid possible injury to the eyes from this cause.
By the means described above the smaller parts are blued in large quantities; 40 bayonets or 125 ramrods can be subjected to the bluing process at one time. The parts of the lock, except the main and sear springs, are not removed, but the lock is blued as a whole with most favorable results.
CLEANING AND REPAIR OF GUNSTOCKS.
One of the largest items of expense connected with the repair of the small arms has been that of the renovation and repair of the stocks.
As received from the service, nearly all are scratched, worn, or marred so badly as to require a thorough overhauling.
At the beginning a partial cleaning of the stocks was given by means of an endless sand belt in the polishing room, and they were then scraped clean by hand. The use of the belt was afterwards discontinued, as the results obtained were not so good as the work done by hand. The scraping was necessary to remove all var-nish, traces of oil, slight effects of wear, etc. It has been found that a quick work- man can thoroughly scrape 27 stocks in a day of eight hours.
After scraping, the stocks are dipped into warm water to swell the wood and remove slight seams and scars. When dry they are thoroughly sandpapered to bring them to a smooth surface: one man in a day of eight hours can sandpaper twenty-two stocks. A coat of oil is then given the stocks and, after standing two hours, a light coat of sheilac varnish is applied. The stocks are now ready for the finished barrels.
In all its various stages and operations this work of repair has been well systematized as regards both efficiency and economy. The guns, as turned into store, are to all appearances new, and, after the system of inspection adopted in their renovation, it is believed there can be no doubt as to the serviceability of all. As far as practicable. a piece-price system has been adopted throughout the work, and this has led to an increase of output with a decrease in cost.
Owing to the fact that the work is still in progress it is impracticable at the date of this report to give the exact cost; this, with much additional information, will be given in a final report when the work is finished.
A quantity of arms are already en route to this arsenal from troops in the field, and it is expected that their condition on receipt will be such as to materially increase the average cost of repairs that have gone before.
-
butlersrangers
- Posts: 9856
- Joined: Wed Oct 07, 2009 11:35 pm
- Location: Below the Bridge, Michigan
Re: How should Krag metal look?
These are photos of a model 1892 Krag that was updated at Springfield Armory, to model 1896 features, in 1897.
These rifles were taken apart for major wood alterations & refinish.
The receivers were annealed (in one spot) to allow machining of the bolt 'hold-open notch'.
I think these 'altered' Krag rifles are a good example of the Armory metal refinishing process & resulting appearance.
IMO - This action appears to have been subjected to rust 'browning' with the original barrel attached.
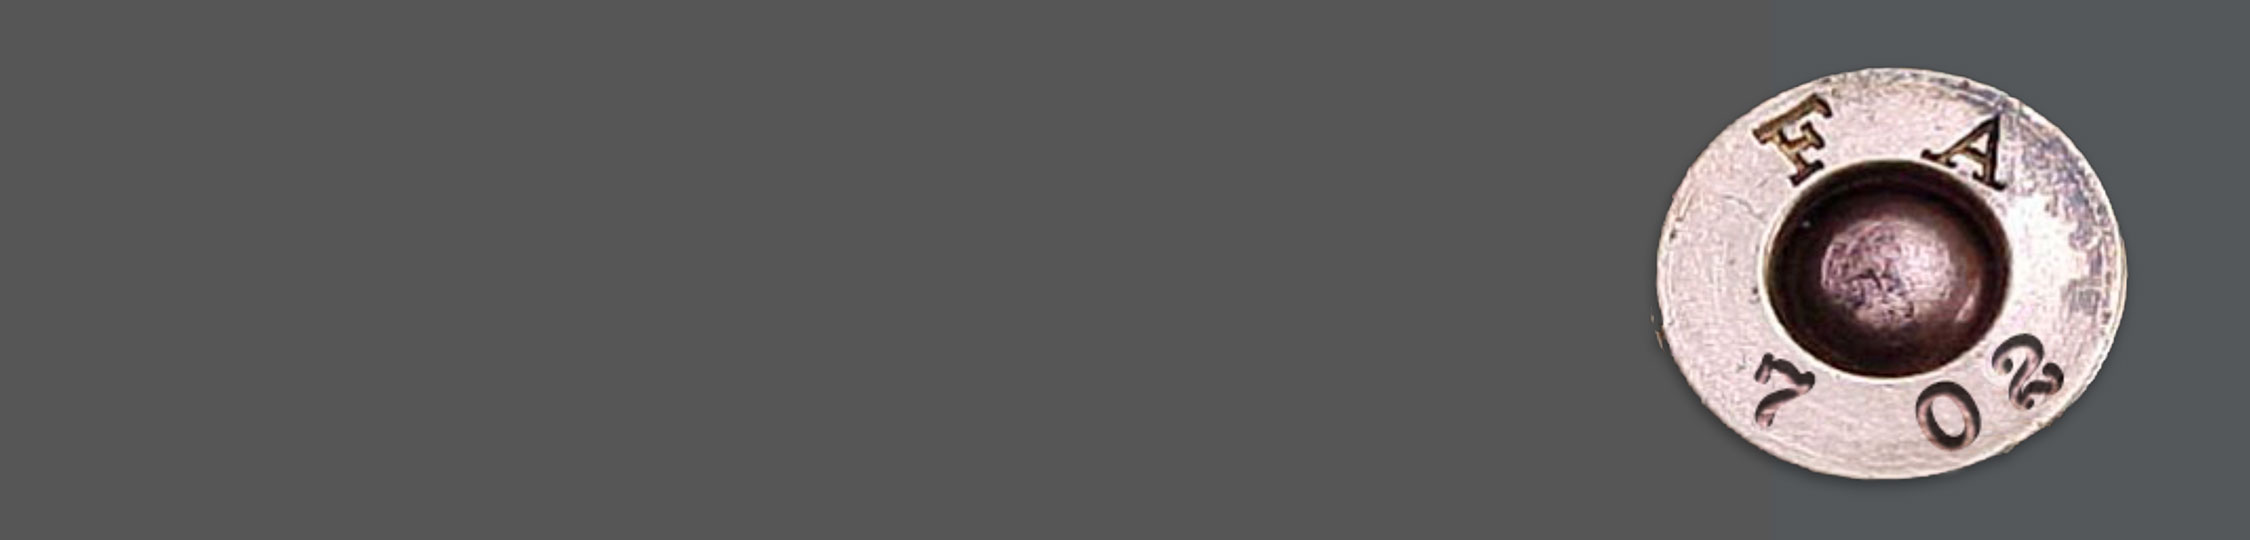
This gives a different receiver finish appearance than a pristine Armory 'New' rifle, like WAGON'S minty 1902 BoO&F trial rifle. (Last Photo)
(I suspect that the Krag rifles, subjected to repair and reconditioning during the 1914 to 1918 War years, may have received a more "Spartan", less intensive, and more homogeneous metal treatment).
These rifles were taken apart for major wood alterations & refinish.
The receivers were annealed (in one spot) to allow machining of the bolt 'hold-open notch'.
I think these 'altered' Krag rifles are a good example of the Armory metal refinishing process & resulting appearance.
IMO - This action appears to have been subjected to rust 'browning' with the original barrel attached.
This gives a different receiver finish appearance than a pristine Armory 'New' rifle, like WAGON'S minty 1902 BoO&F trial rifle. (Last Photo)
(I suspect that the Krag rifles, subjected to repair and reconditioning during the 1914 to 1918 War years, may have received a more "Spartan", less intensive, and more homogeneous metal treatment).
- Attachments
-
- IMG_0872.JPG (445.78 KiB) Viewed 516 times
-
- IMG_0894.JPG (314.72 KiB) Viewed 516 times
-
- IMG_0866.JPG (169.02 KiB) Viewed 516 times
-
- IMG_0857.JPG (992.1 KiB) Viewed 516 times
-
- wag-0.png (722.72 KiB) Viewed 516 times
 Re: How should Krag metal look?
So here is the list for parts based off of what an arsenal job would have entailed (rust blued, niter blued, polished, blacked in oil, or cleaned) — thoughts?
Rust Blued:
- [ ] Barrel
- [ ] Buttplate
- [ ] Hinge bar head
- [ ] Bolt Sleeve
- [ ] Buttplate cap
- [ ] Safety lock
- [ ] Side plate
- [ ] Gate
- [ ] Carrier
- [ ] Follower
- [ ] Receiver
- [ ] Cocking piece
- [ ] Sear
- [ ] Trigger
- [ ] Cut-off spindle
- [ ] Front Sight
Niter Blued:
- [ ] Bands (2)
- [ ] Swivels + base (4)
- [ ] Trigger guard (1)
- [ ] Cut-off (1)
- [ ] Front Sight Blade
- [ ] Rear Sight
- [ ] Hinge Bar
- [ ] Buttplate Cap, Spring & Pin
Blacked in Oil
-[ ] Screws, Pins, and Rivets
Polished:
- [ ] Bolt
- [ ] *Underside of cut-off finger piece
- [ ] Bolt runways in receiver
- [ ] Muzzle
Cleaned:
- [ ] Ejector
- [ ] Extractor
- [ ] Extractor spring
- [ ] Magazine spring
- [ ] Striker
- [ ] All other springs
Re: How should Krag metal look?
I think you are right on that rifle BR - does the bands, trigger guard, magazine cutoff, and swivels look different? Those may have been niter blued.
-
butlersrangers
- Posts: 9856
- Joined: Wed Oct 07, 2009 11:35 pm
- Location: Below the Bridge, Michigan
Re: How should Krag metal look?
The model 1892/updated to 1896 and the BoO&F rifle look like they do in the pictures.
Both finishing routes look nice.
With brand new SA Krags, a totally finished barrel was screwed on to a finished receiver, that was the color imparted by the heat-treat.
Both finishing routes look nice.
With brand new SA Krags, a totally finished barrel was screwed on to a finished receiver, that was the color imparted by the heat-treat.