More Bolt Trivia

U.S. Military Krags
User avatar
butlersrangers
Posts: 9893
Joined: Wed Oct 07, 2009 11:35 pm
Location: Below the Bridge, Michigan

More Bolt Trivia

Post by butlersrangers »

On another KCA thread recently, a new member asked about the meaning of the odd markings on his model 1898 Krag bolt.

The best guess, I could offer, was that maybe they identified steel lot, production period, or a bolt passing inspection steps or proof testing.

(1903 Springfield authority, John Beard, on another forum, has provided his research in the form of "Steel Lot Code Charts". These just pertain to 1903 Bolts, and help identify year ranges and manufacturer. Some of the earlier codes are simple & odd letter and number combinations. Possibly, this could be the purpose of the markings we see on our Krag Bolts)?

Some KCA members speculated that the markings might relate to certain bolt dimensions to assist proper head-space and function.

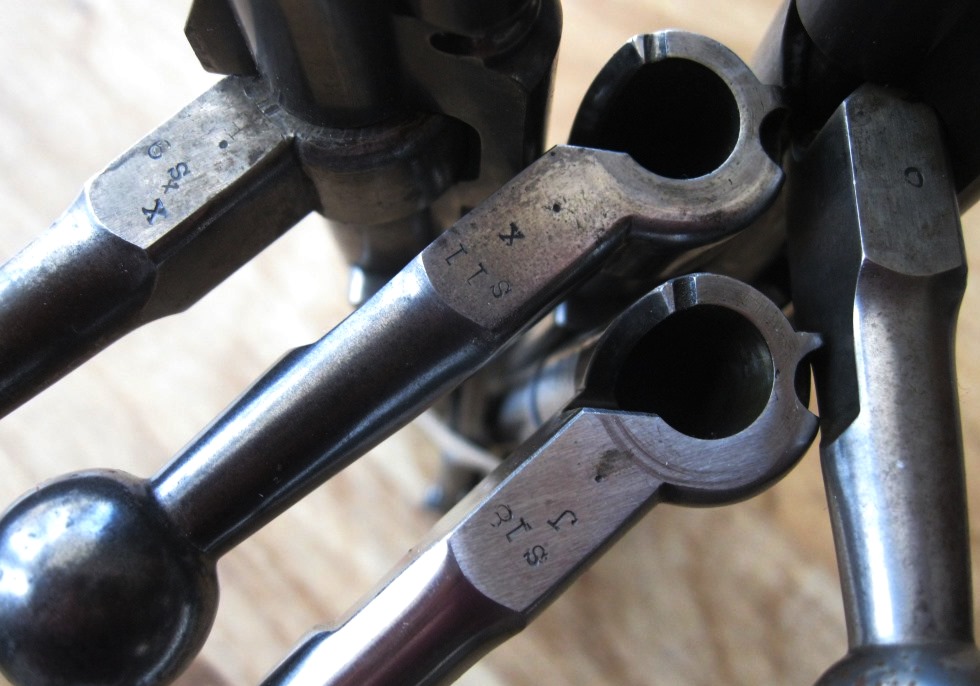
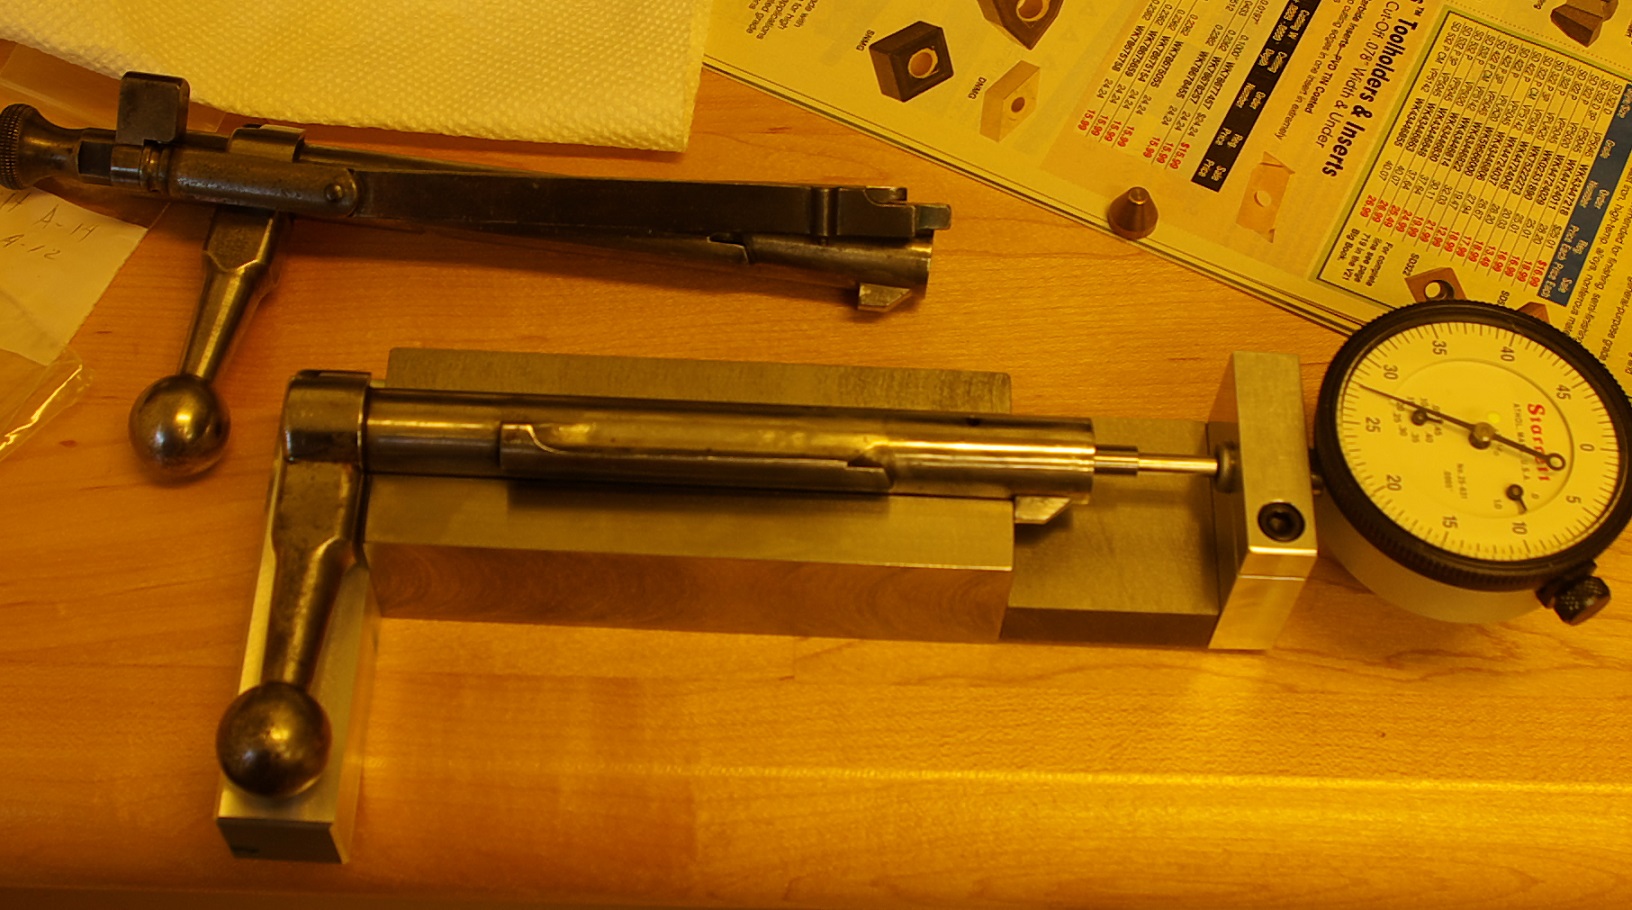
FWIW - I examined six model 1898 bolts and one model 1896 bolt, today.
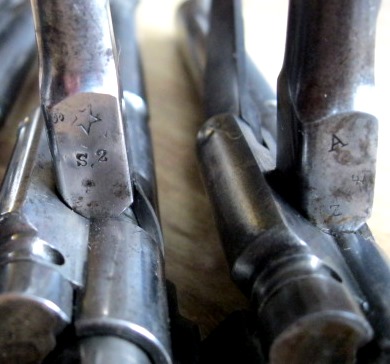
I noted their markings. Some of the bolts, but not all, had a 'Rockwell like' punch mark, on the back of the bolt-handle. None of the bolts had identical markings.
(I could detect no regular pattern to the marking system).

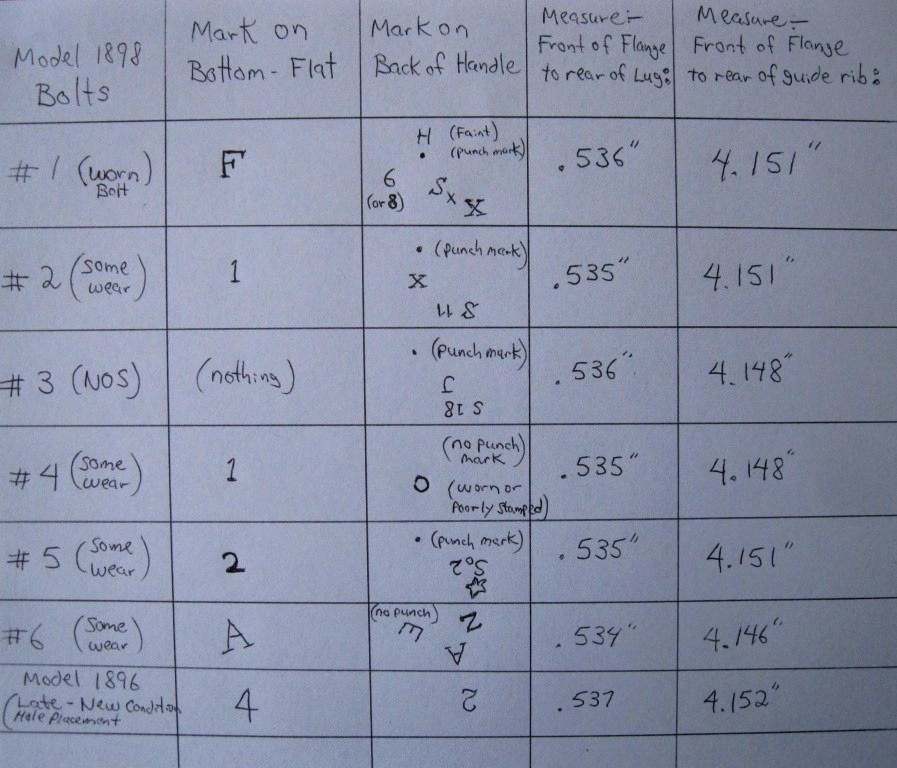
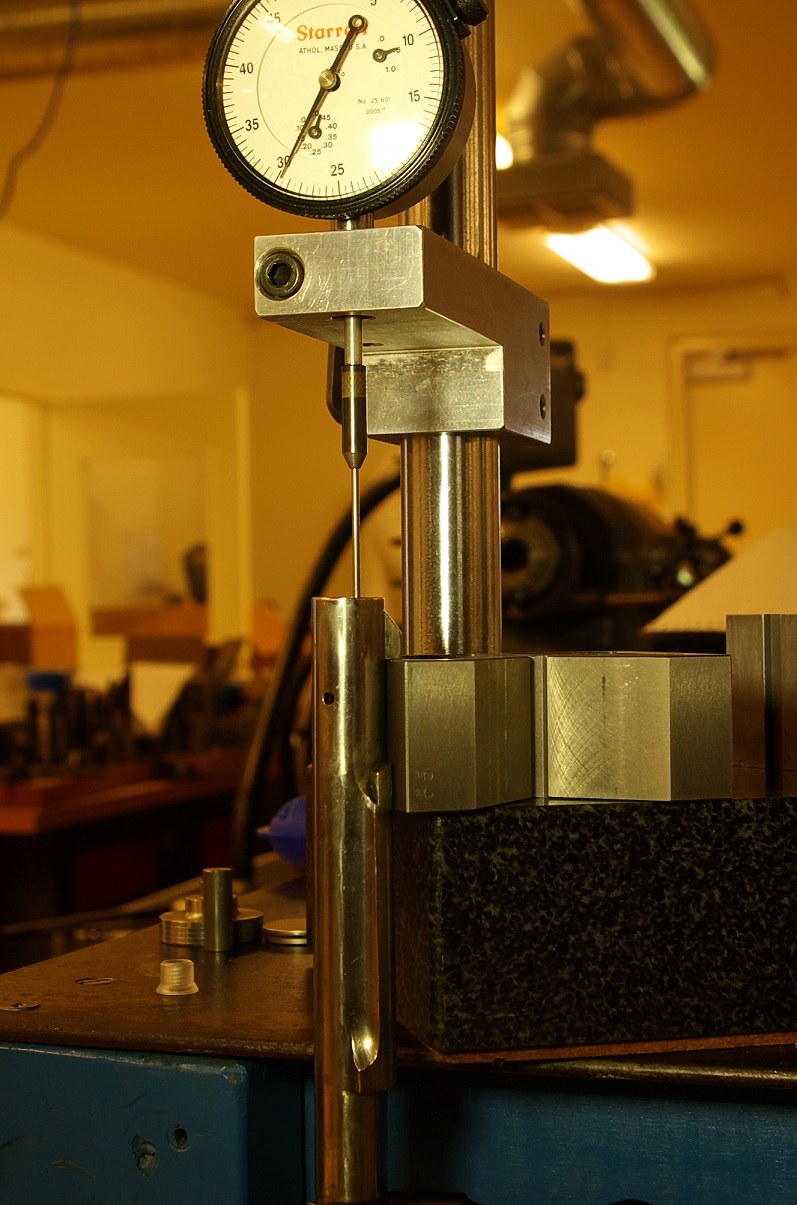
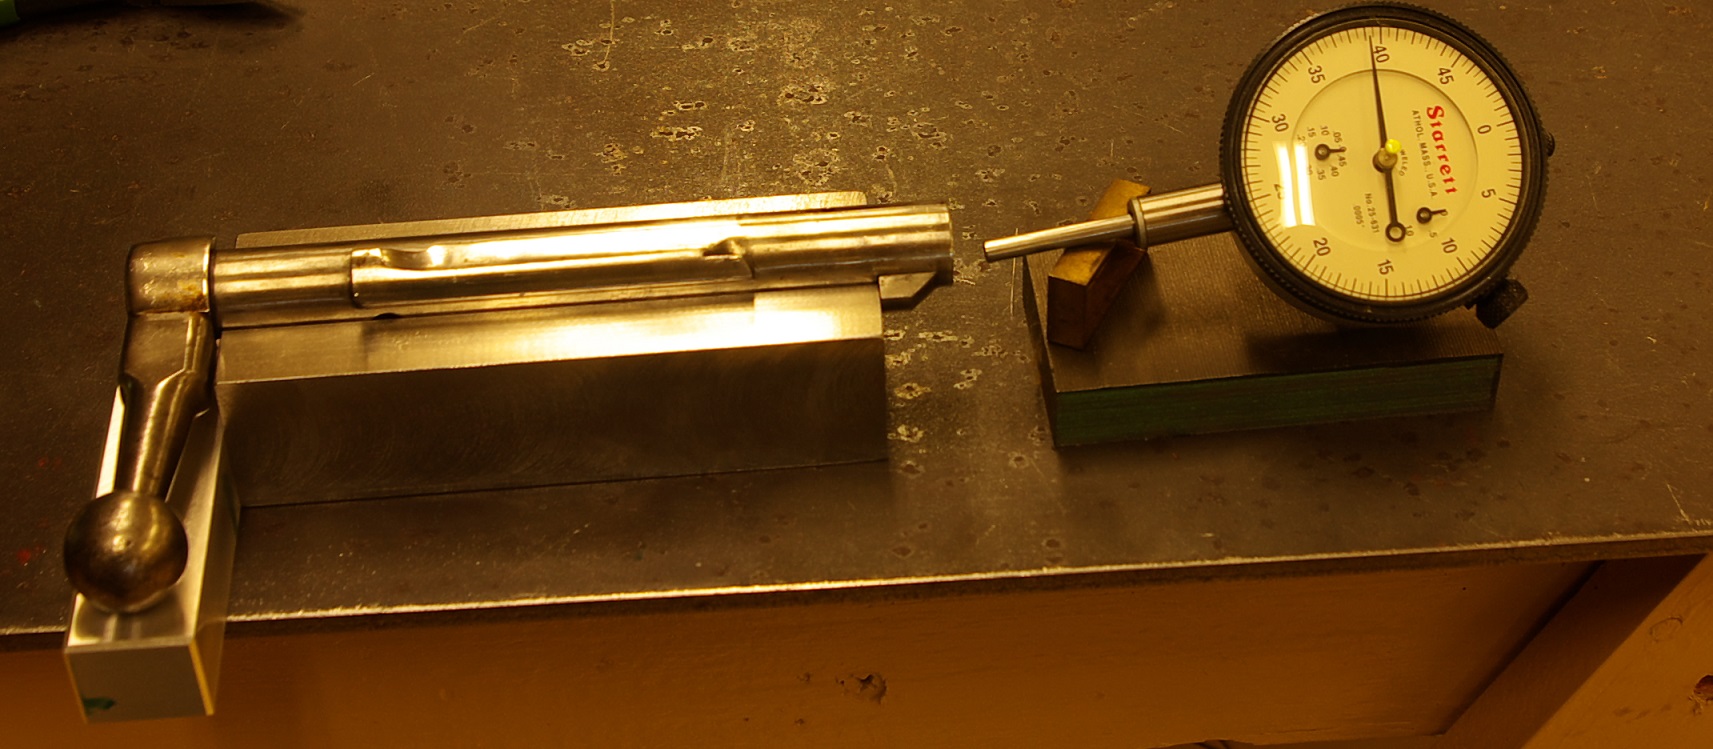
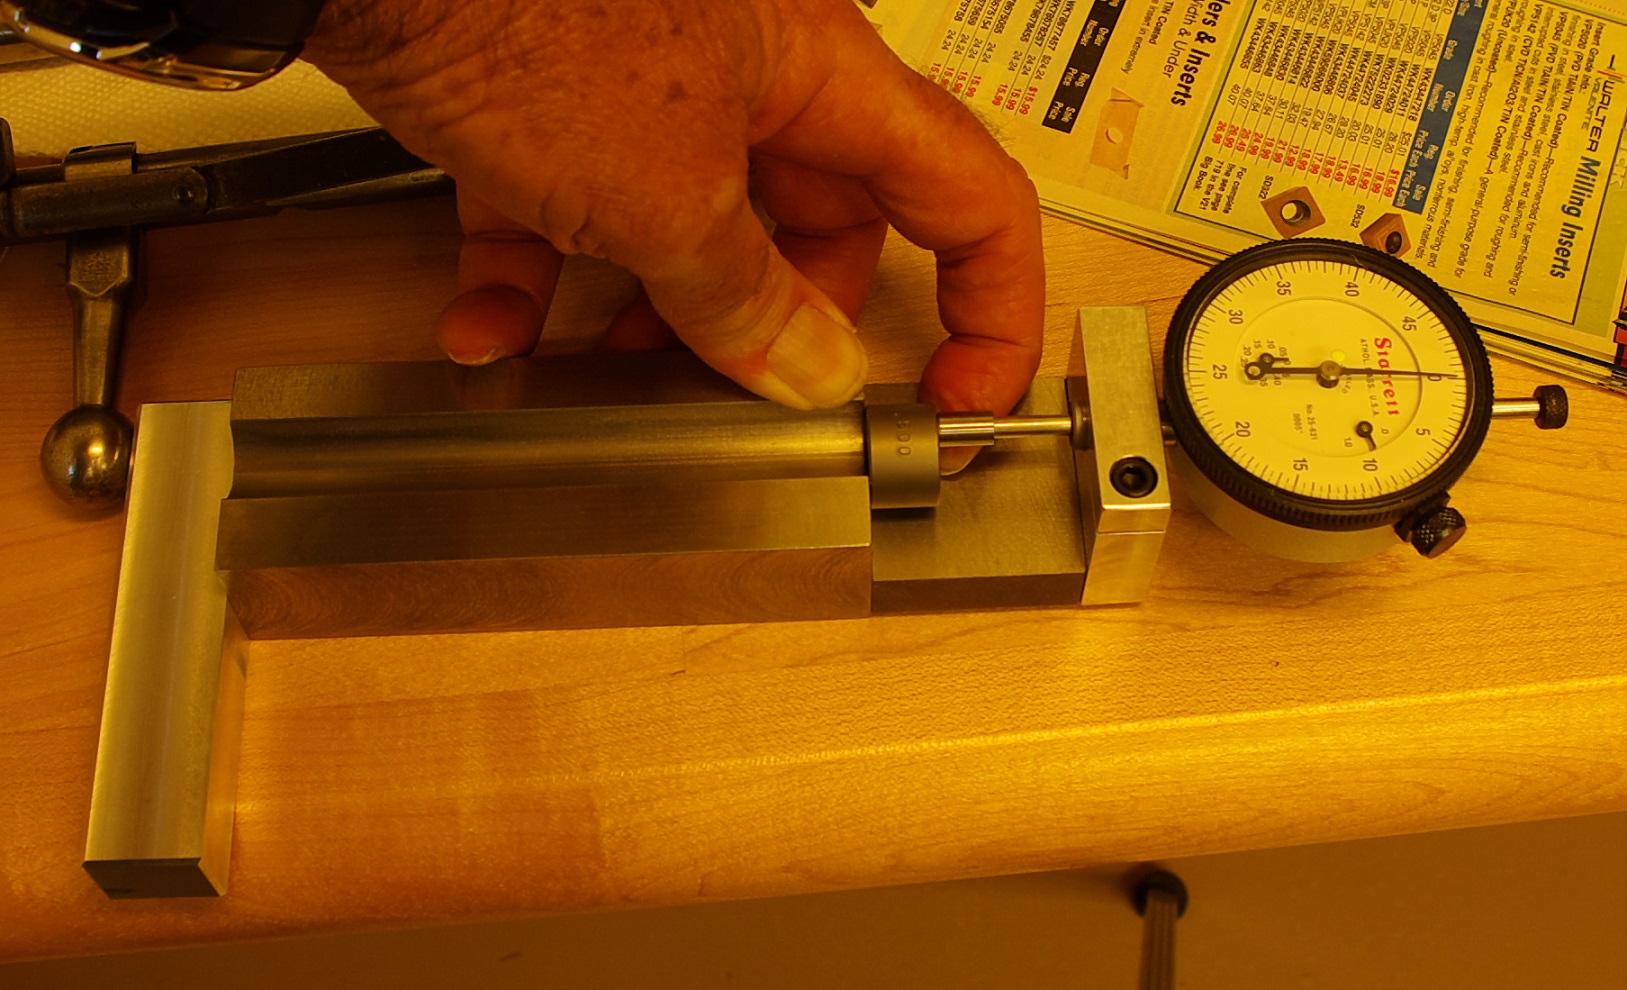
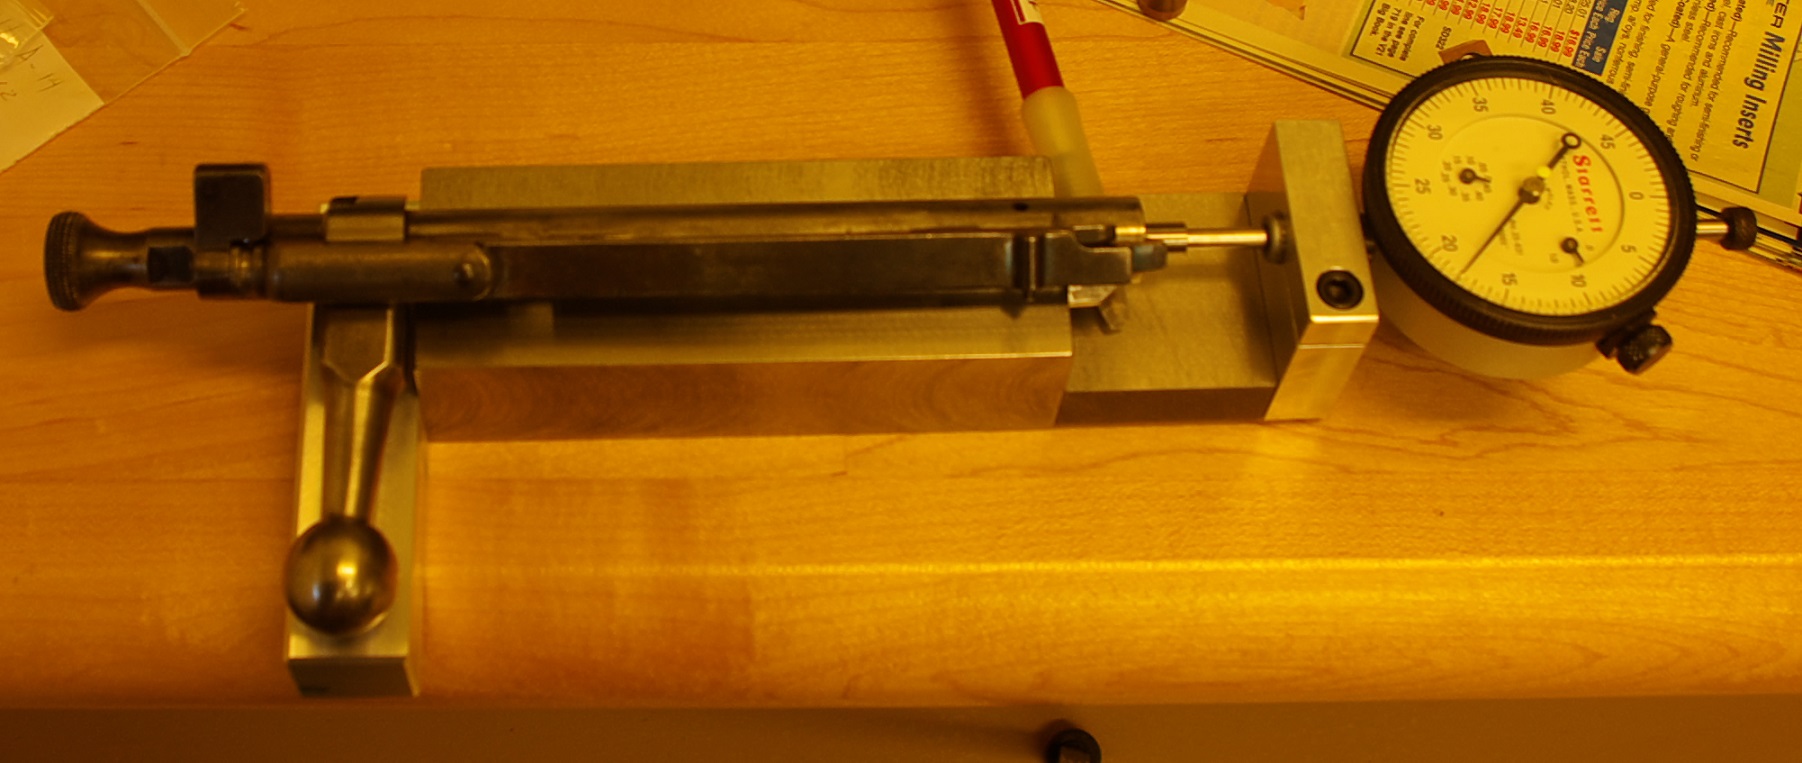
I measured with a vernier-caliper: 1. The distance from the front of the bolt-flange to the rear of the locking-lug. & 2. The distance from the front of the bolt-flange to the rear of the guide-rib.
(These seemed easy and relevant comparison points to me).

Frankly, I was surprised by the closeness of dimensions from bolt to bolt.

Here is a tabulation of my observations.ImageImage

FredC
Posts: 1992
Joined: Fri May 31, 2013 4:38 pm
Location: Dewees Texas

Re: More Bolt Trivia

Post by FredC »

Butlersrangers you are on to something there. I have thought of a way to measure actual headspace variation produced by the bolt. The attached photo shows a simulation of how I would do it. Bolt lug to the cartridge recess is the actual dimension to measure.
My V-block in the photo is close to a correct way. To make it better would involve honing a radius on one of the surfaces that would be larger than any on the lug. When the Krags were built it was already known that a radius in the corner would resist cracks from fatigue and also make the cutters last longer. That radius is not very big on Krags but it is there and not to be gauged from, you want to gauge from the flat part of the lug.
Just went back and looked at your photos but did not see the one I saw recently with a star stamped on it. I got a feeling that was one inspected all over and not just critical areas, kind of like a star gauged barrel. I think star gauged barrels were done when fresh tooling was installed and extensive gauging was done. Personal opinion is a star gauged barrel is not necessarily the most accurate. Maybe 10 or 20 barrels later the tooling settles down and actually does a better job.

Back to your on to something there, IF there were some variation in headspace that was addressed during final assembly, I really doubt it was by just going through a bucket of random bolts. IF there was any final fitting is was with known bolts that were plus and minus from a mean dimension and designated by a now unknown mark.

I started a discussion on Krags on another forum, particularly about head space and timing or clocking of the barrel. https://www.practicalmachinist.com/vb/gunsmithing/timing-receiver-barrel-363024/
So far a few interesting comments and some guesses. I doubt the Springfield A guys were measuring to 50 millionths of an inch.Image

User avatar
butlersrangers
Posts: 9893
Joined: Wed Oct 07, 2009 11:35 pm
Location: Below the Bridge, Michigan

Re: More Bolt Trivia

Post by butlersrangers »

Fred - Neat precision measuring fixture!

Attached is a photo of the markings on the rear of model 1898 bolt #5 (star marked) and 1898 bolt #6, (as recorded in my chart).

It would be interesting to know the variation shown, on a large sample Krag bolts, for the measurement from the front of the bolt flange to the actual 'recessed' bolt face.Image

User avatar
butlersrangers
Posts: 9893
Joined: Wed Oct 07, 2009 11:35 pm
Location: Below the Bridge, Michigan

Re: More Bolt Trivia

Post by butlersrangers »

FWIW - I got to thinking (always dangerous) and started measuring the depth of the bolt-face recess on four model 1898 Bolts.
(The distance from the front edge of the bolt-flange to the bolt face, near the firing-pin hole).

Bolt condition varied from 'visibly worn' to 'new old stock' and I took five measurements on each bolt-face. I rotated each bolt so as to measure in different spots, using the 'depth gauge' provision of my vernier-caliper.

I found, I was getting .005" variation between my minimum and maximum depth measure on each bolt. The NOS bolt only showed .003" variation.

The maximum bolt-face recess I measured was .066".
The minimum bolt-face recess I measured was .058".
(This difference is less than the thickness of two sheets of typing paper).

I averaged the five readings, I obtained, with each bolt.

For all four bolts, the average of five depth measurements came to .0608" (basically, 61/1000 of an inch depth, from front of bolt- flange to recessed bolt-face).

I found it kind of amazing each bolt gave the exact same average. (.0608").

FredC
Posts: 1992
Joined: Fri May 31, 2013 4:38 pm
Location: Dewees Texas

Re: More Bolt Trivia

Post by FredC »

I know where I had seen the star now it was on your hand written list. Probably means the same thing as on a barrel, all dimensions checked and near the mean. Maybe like a first article inspection after tools are changed or the whole set up is refreshed.

On these drop indicators the gauge tolerance should be 1/2 the smallest division. The smallest division on this one is .0005 inches but I have never verified that it is really that accurate. With dial calipers the same rule applies about 1/2 a division, with digital you can not split the last division so I do not know what the rule is there. In a production shop we never trusted calipers for anything closer than a Plus or minus .005 tolerance. That was a long time ago before good digital calipers became available. I still follow the old rule in my shop as I can find a better way for production measuring with indicators or specialized mikes. Mainly use calipers for quick reference.

On the depth of the recess I would not have held that as close if I was making them. Close tolerance is always costly only do it when necessary and that is the lug to the recess. Measuring with calipers is a little iffy for precision. I would be more comfortable with a depth mike, but one place I worked at called depth mikes Volkswagon bumper jacks and despised them. We used them in production shops and were comfortable holding .001 with them.

What does NOS stand for exactly, I am taking that it means no visible wear.

I too would like to see a bunch of new ones measured. I am trying to think of a safe way to check about 10 from Dave at Grandpas or making a quick and dirty gauge that would be repeatable and could be easily shipped to you and maybe Dave to check a bunch of bolts.

User avatar
butlersrangers
Posts: 9893
Joined: Wed Oct 07, 2009 11:35 pm
Location: Below the Bridge, Michigan

Re: More Bolt Trivia

Post by butlersrangers »

"NOS" means New Old Stock - Old parts that were never used and that are in new condition.

BTW - My favorite vernier-caliper was my Dad's. It has no Dial. You use the increments that lineup exactly.

I was never a Machinist. Just, the son of a good one and I took an interest in his work.

FredC
Posts: 1992
Joined: Fri May 31, 2013 4:38 pm
Location: Dewees Texas

Re: More Bolt Trivia

Post by FredC »

I made a mistake and thought about that gauge too long. Not possible to make a quick and dirty gauge now. Thinking is dangerous!
Found a length of seasoned gray iron, milled it square and milled the ends also. Surface ground it top and bottom and milled the 5/8 channel. I was going to mill a groove to clear the bolt guide but that would have required a stand under the gauge to clear the hanging bolt handle. Decided to mill a stop to support the bolt handle instead. This keeps the bolt from camming out of the channel from the weight of the handle.
Need to make an indicator holder and a gauge for zeroing the indicator and it will be finished. Regular work keeps getting in the way, but another week or two and it should be finished.
BR, can you line up some more bolts to check and note the markings?Image

FredC
Posts: 1992
Joined: Fri May 31, 2013 4:38 pm
Location: Dewees Texas

Re: More Bolt Trivia

Post by FredC »

Almost got caught up in the shop and did some more work to this gauge. Special length screws will be here in a couple of days so the parts are just propped up to look like it is assembled. Need to make the indicator end and a zero setting gauge and it will be complete.
Way past quick and dirty, I thought about it too long and made drawings of the various parts. If I ever think about doing this again will someone kick me real hard, please.Image

FredC
Posts: 1992
Joined: Fri May 31, 2013 4:38 pm
Location: Dewees Texas

Re: More Bolt Trivia

Post by FredC »


Assembled the gauge and got 2 measurements from my 2 Krags. First photo is setting the zero on the gauge.
Second is my sporter bolt (Assembled) measures .450 plus the indicated .0175 or .4675 total. (small dial reads .450) Ser #410XXX
Third is my fathers relatively unused bolt (Stripped) it reads .450 plus .0278 or .4778 total. ser #397810
The markings are similar on these 2 bolts.

Stripped bolt on the back has sideways V underneath S12 and a punch mark, bottom flat has a 0 (zero).

Assembled bolt back S12 underneath 0 and a punch mark.
Bottom flat F.

The wear on the assembled bolt left a small unworn patch that caught on the gauge, the pen in the photo was lifting it so that patch was not touching. Indicating the wear to be about .005. These 2 bolts with similar marking and serial numbers were probably .005 different when new. That is almost the whole head space tolerance.

The rifle with the assembled bolt was probably last used by my father in 1940 as he was mobilized in 41 and hunted with his 1917 Enfield afterwards so it has very little wear.
I plan on milling a small pocket on the gauge to clear the unworn portion of a bolt so it will give a closer to effective measurement.

2 bolts is not enough to mean anything yet, but indicates some caution be used when swapping bolts, especially if wear is evident.
ImageImageImage

FredC
Posts: 1992
Joined: Fri May 31, 2013 4:38 pm
Location: Dewees Texas

Re: More Bolt Trivia

Post by FredC »

Well I finally got the gauge finished and built a "package" to protect it during shipping.
Since Butlersrangers originated this thread with the idea that the markings on the bolt could possibly indicate a plus or minus dimension from a "mean" that would help with final assembly, I will send him the gauge first. With the checking of many bolts we might be able to discern which if any of these marks may indicate plus or minus dimensions. BR has indicated the marks might indicate lots of steel, other may indicate the shift or which line the bolt came from.
With the .009 inch difference I have seen measuring 2 bolts with an "s12" stamp on the back I would not recommend to anyone that bolt swapping is OK. These 2 bolts may have measured the same when they left the armory but the one with the more extreme wear was shorter.
So I will pack it tomorrow for sending to BR. I will also make a printable chart for recording the info. BR's chart on the OP looks good to me, right now I would add a line for shift while closing the bolt, I saw .004 to .005 inches on mine. This shift may be universal on all of them, it will be good to know this. I would like a copy back from each member that uses this gauge to check his bolts. I recommend you do one a time to prevent mixing them up.
If you have a Krag that closes on the field gauge and is loose on that gauge, the info we compile here may make it easier to get the right bolt to get the headspace back to a better range.
Two videos on using the gauge. The first is longer and shows more details on packing, the second is from a better angle and shows more details on actual measuring.

https://youtu.be/RnDCLT3R1I0 #1
https://youtu.be/2QoSboAG1uo #2

Any suggestions on details for the chart or the videos will be taken into consideration.
If you want to get in on this exercise send me a PM, with your email address and how many Krags you have to check, especially if you have any new old stock on hand.

Post Reply